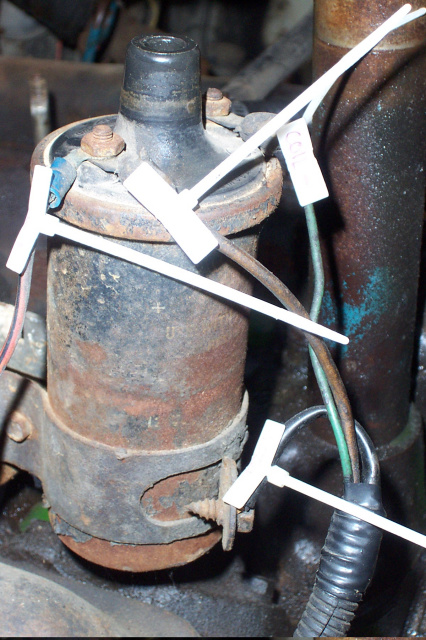
The first step is to remove the engine. But before I can do that, I need to disconnect all the wires and hoses and remove the ancillary equipment. I tagged each wire and hose that is disconnected with little zip ties that have a plastic plate on them that can be written on.
All small bolts, washers, spacers and parts are seperated into zip-loc sandwich bags and labeled. I'm also taking a LOT of dital pictures for reference. In addition to that I have a notebook in which I keep detailed step by step notes. I'm probably going a bit overboard, but I've never taken an engine out or put one in before so I don't want to end up with extra parts when I'm done.
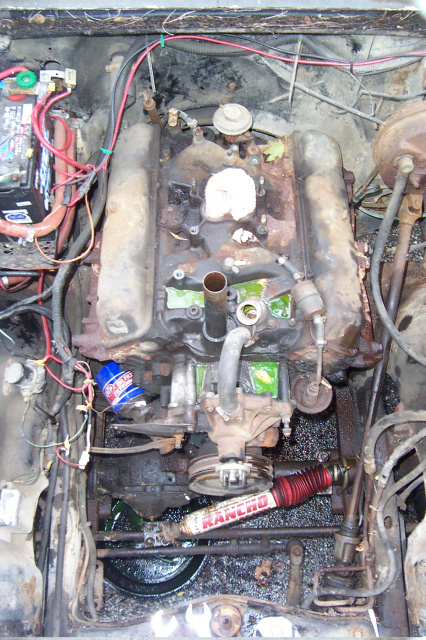
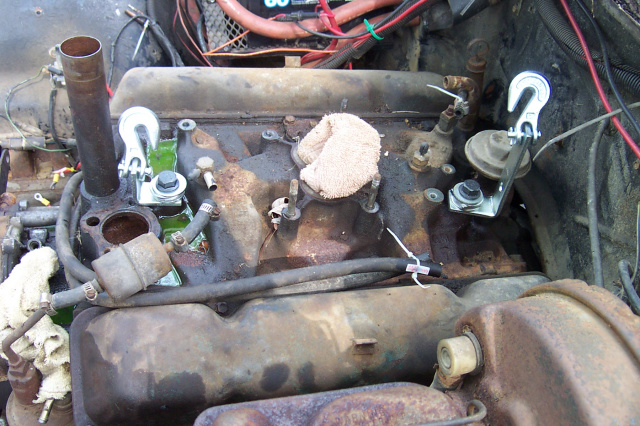
I pulled off the carburetor, alternator, coil, distributor, fan and power steering pump. I also decided to take off the radiator and front grill to make the engine pull as easy as possible.
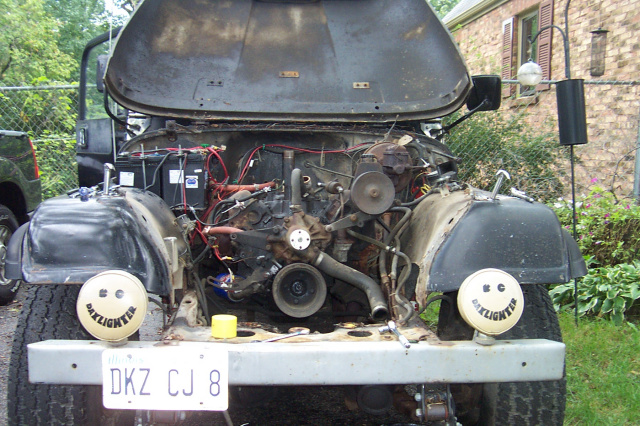
Here it is stripped down and ready to be pulled. All that should be left at this point is to remove the exhaust manifolds and disconnect the transmission.
I also found a few cables on the driver side of the transmission that had to be disconnected like the speedometer (actually that was on the transfer case), the gear shift linkage and an electrical plug.
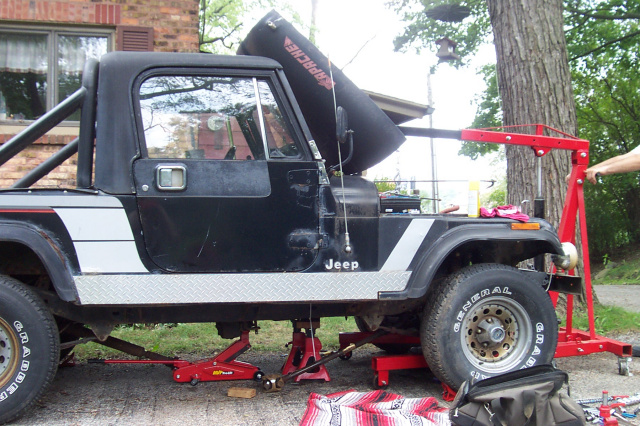
I spent the rest of the day searching for the last bit of supplies I needed to do the engine pull. I tried 4 stores and none had an engine leveler so I just stopped at Home Depot and got the biggest chain they had along with some heavy duty links. I was also unable to find angle iron to bolt onto the engine to connect the chains to. I ended up settleing for 1/4" stainless steel shelf brackets.
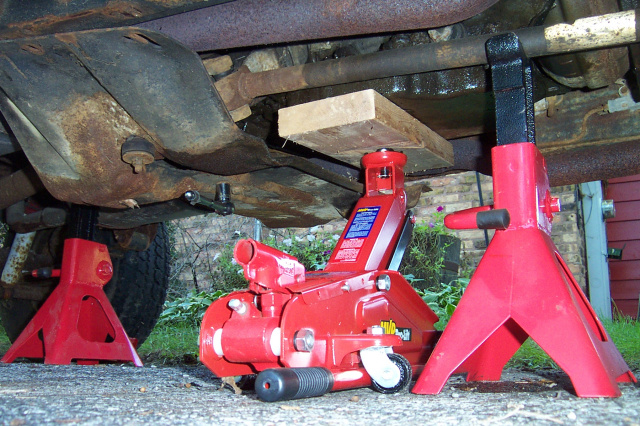
We hooked up the host to the engine and put the floor jack under the transfer case to support the back.
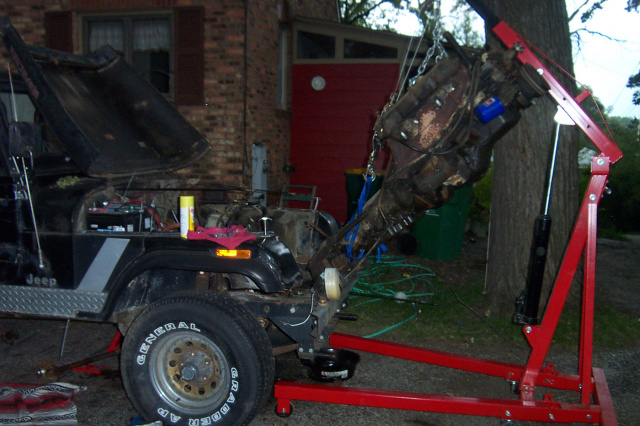
We tightend up the hoist and unbolted the engine block. After a little more lifting and jumping on the bumper, the engine assembly came free from the car. Then it was just a matter of raising the hoist, pulling stuff out, checking for obstructions, reseting the floor jack and repeating. This part of the process only took about 25 minutes. We were lucky it only took that long. Because within minutes of clearing the front bumper, it started pouring (notice how dark it is in this picture taken at 2pm:
We quickly wheeled everything over to the carport and set everything down on a picknick table. We were then able to seperate the engine from the transmission.
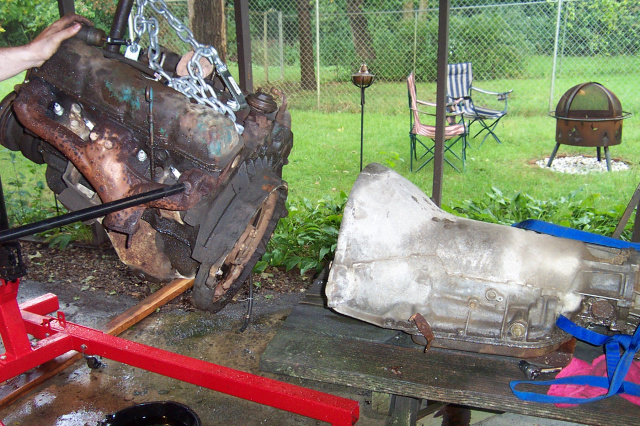
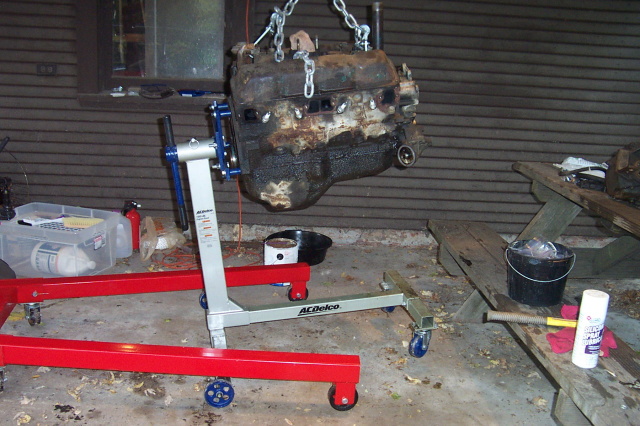
We spent the rest of the day getting the engine onto the engine stand and trying to seperate the transfer case from the transmission, and draining fluids from all 3 parts. I should have drained these before I pulled them. It would have saved some weight and it would have been much less messy. We got the engine on the stand, but there was 1 metric bolt holding the transfer case to the transmission and I couldn't find my metric wrenches. While I was poking around I noticed that the engine is not a 304ci engine as I had assumed from the markings on the air cleaner. There is a large 360 cast into the side of the engine. It turns out that I have an AMC 360 ci engine instead. This explains why I couldn't decode the build date stamped on the valve cover tag.
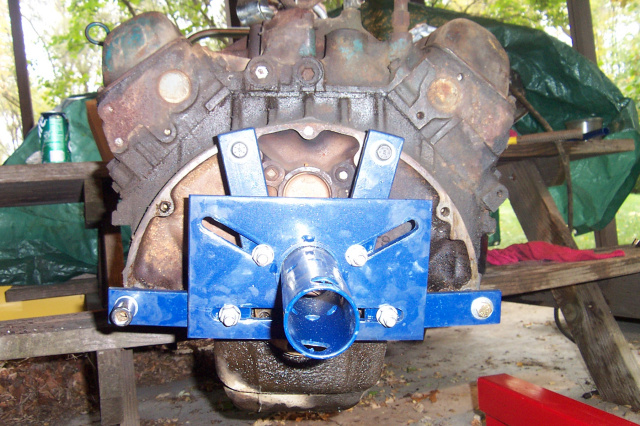
It is much easier to bolt the bracket onto the engine and then lift the stand onto it. Trying to bolt the engine to the bracket while it's in the stand is MUCH harder.
The only thing left to do is remove the intake manifold and it should be ready to send off for a rebuild. I've decided to hold off on the rebuild until later. The warranty will start when the engine has been rebuilt, so there's no point in letting it sit around while I finish the transmission, transfer case, engine bay and other work.